Saturday, December 29, 2012

Mozzarella


The little list in my head now has another check!  There were three things I wanted to make by the end of the year, I have succeeded in making two of them - graham crackers and now mozzarella cheese - the third will have to wait until I can really research the best cocoa beans.  
If you aren't a cooker then the process of making mozzarella might be daunting.  I am here to tell you it is SIMPLE.  It takes about thirty minutes (give or take a few) from start to water bath.  In the end you not only have something homemade, you also have a delicious ball of cheese!!  


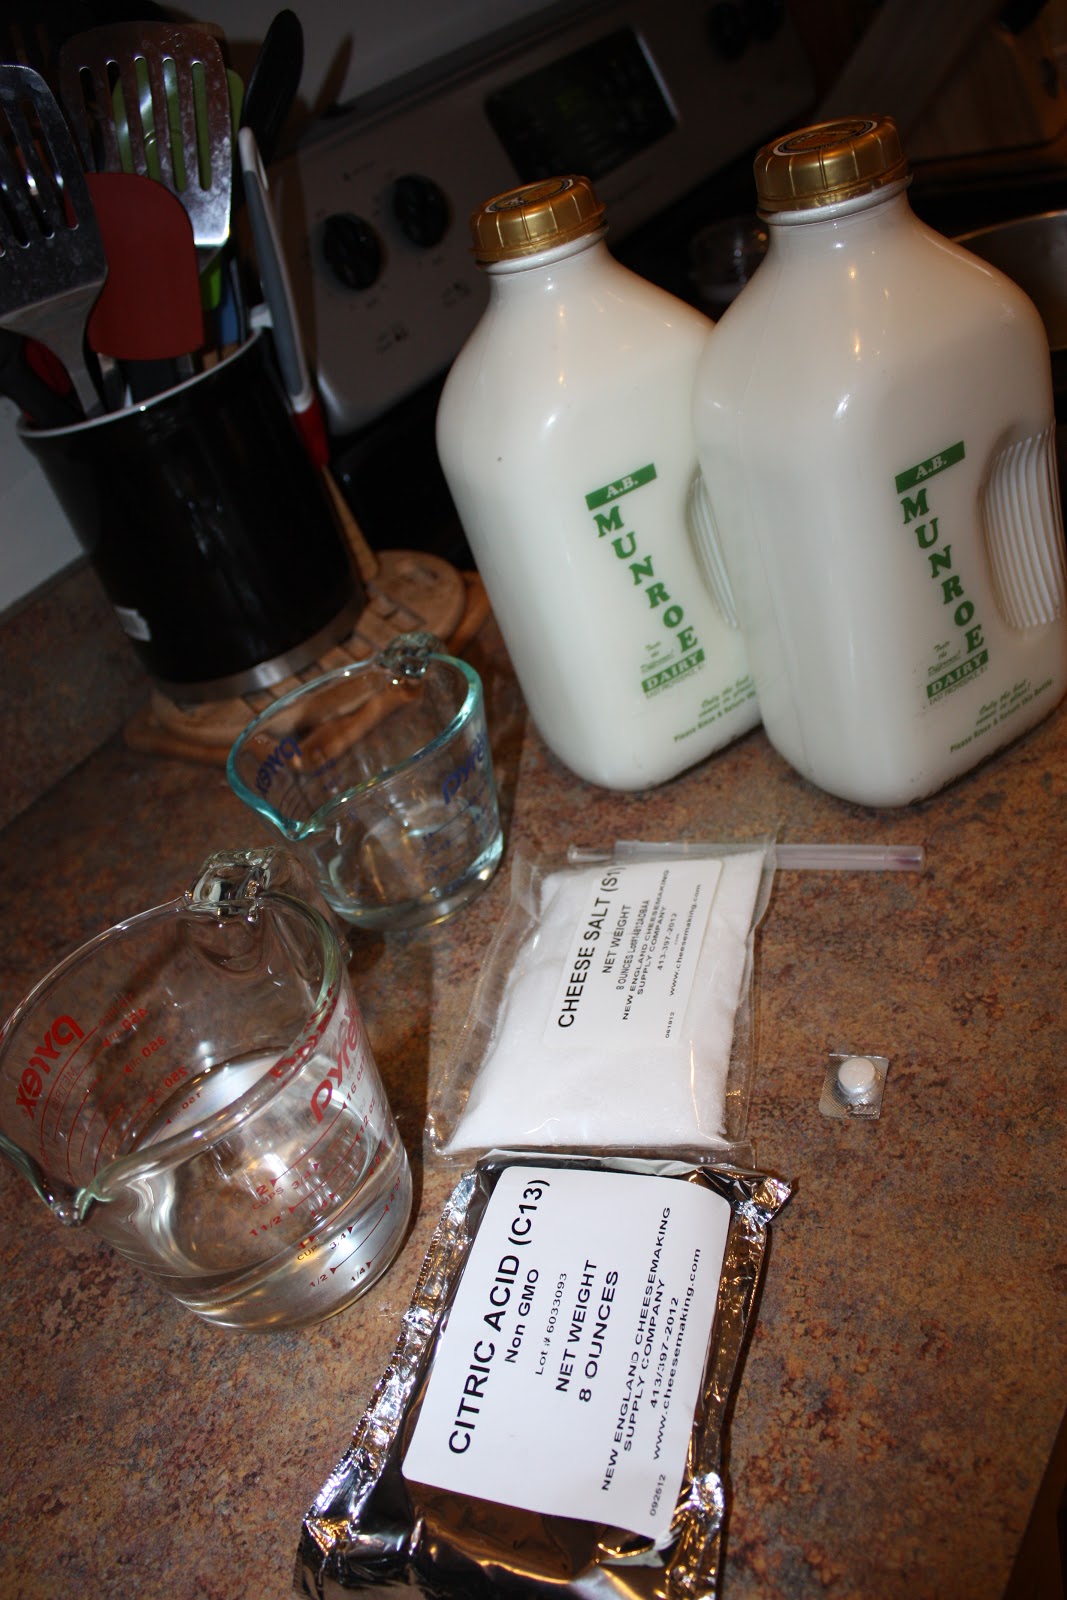
Tools/Ingredients
  • 1 Gallon of Milk - it can be the fat content of your choice.  Obviously whole milk would make a richer cheese however I used 1% and the cheese was still great!  The one thing you HAVE to be sure about is the pasteurization process of your milk choice.  In order to make quick and easy home made mozzarella you cannot (let me stress that again- CANNOT) use UHT (ultra-high temperature pasteurized or just ultra-pasteurized) milk.  That milk you grab from the big chain grocery stores (Garelick, Hood, etc) is UHT.  It gives the milk a great long shelf life, but it causes great loss of folate, B12, Vitamin C and Thiamin.  It also makes creating quick yummy mozzarella at home impossible - curds will not appear no matter how much rennet you use!  In our house we get our milk delivered from a local dairy.  Their milk is gourmet pasteurized so obtaining milk was not an issue for me.  I would suggest you try your local dairies if you want to attempt this recipe.  Call around and ask what their pasteurization process is, most dairies are more than willing to discuss this with you. 
  • 1 1/4 c Water - if you live in a city that has a highly chlorine level in your water use bottled.  Rennet and Citric Acid do not play well with chlorine.  
  • 1 1/2 t Citric Acid - You can find citric acid a bunch of places.  First make sure you are buying FOOD GRADE.  I have citric acid in the house for my soaps and lotions - that is not the stuff we want for our cheese making.  Local brewery supply stores normally carry cheese making supplies, that would be where I would go if you don't want to purchase your supplies online (which is my suggestion).  
  • 1/4 Rennet Tablet (or 1/4 t of Rennet Liquid) - now for the "gross" part.  For those of you that don't know,  traditionally, rennet is a group of enzymes found in the lining of a calf's stomach that helps with digestion. If this thought bothers you, I suggest you don't look at those wonderful cheeses you buy from fancy stores!  There are such things as "vegetable" and "microbial" rennet.  (I use the microbial rennet which is actually made from a coagulating mold - this is fun stuff people!)  If a person tries to sell you vegetable rennet that was commercially made call foul - there is no commercial source of vegetable rennet.  It is normally locally made by people that know how to get the coagulating features out of figs and the like.  Most vegetarian approved cheeses are made with microbial rennet.  You can purchase this online where you get your citric acid.  (I will give you a couple of links at the end of the post for all you people that don't like to peruse random sites.)
  • Cheese Salt - not necessary at all, but it is cheap and it is a finer grade than regular old kosher salt.  If you can't find any, but want something that will be that fine grade try some canning salt. 
  • A Pot/Pan - it must be big enough to hold your gallon of milk and still have enough room for some vigorous stirring.  It also CANNOT be a conductive metal!!  In other words, stainless steel, glass, or ceramic ONLY.  For those of you that are going to ask, Caphalon pans are coated and therefore should be able to be used.  That being said, the coating is only good if you have never used a metal utensil on it, scoured it, or it is less than about 15 years old.  The coatings can wear away or get scratches.
  • Dairy Thermometer- they are cheap and can be purchased with your rennet and citric acid.  Please do not try to use a meat thermometer for making cheese!
  • Colander/Cheese cloth/ Strainer - I, personally, use a cheese cloth however that does not mean you need to.  They can be expensive and add steps upon steps to clean up.  As long as you have a fine mesh on your strainer/colander you should be fine - and you will only need that if you too vigorously stir your rennet!
  • Slotted Spoon - I really have nothing for this one - it is a staple instrument in every house :-D
  • Knife - it needs to be long enough to cut through the curds to the bottom of the pan.  SO if you are using a stock pot, don't pull out a 3 inch paring knife to get the job done.
  • Microwave safe bowl - I am giving you the instructions for a quick and simple cheese making - and that requires heating in a microwave for stretching.  You can do this with a water bath but it takes longer.
  • Rubber Gloves - not necessary at all!!!  I use them cause I am a wimp and that thin layer of rubber helps disperse the heat from the cheese during stretching so I don't feel as if I am melting my hands!!
Process/Procedure
Curds and Whey (I over mixed my rennet so they are flakey)
Prior to microwaving
Water Bath
  1. Dissolve 1/4 of your rennet tab into 1/4 c of cool water.  Mix gently and set aside.
  2. Dissolve 1 1/2 t of citric acid into 1 cup of cool water.  Pour into your pot.
  3. Add your milk to the pot and turn the heat on med-medium high, stirring constantly and vigorously.
  4. Heat the milk to 90F
  5. Remove the pot from the heat and slowly stir in the rennet mixture.  Combine using up and down motions for about 30 seconds. (If you stir the rennet mixture for too long you will end up cutting your curds as they form.)
  6. Cover the pot and DO NOT TOUCH for at least 5 minutes.  (Rennet is a very gentle thing, it needs to be left immobile while it works or your cuds could be flakey.)
  7. After about 5 minutes check your curd.  It should look like a custard or cheesecake consistency with a clear separation between curd and whey.  (Whey should be a mellowly clear color, if it is milky recover and let it set for a few more minutes.  If you did not get any curds, check the pasteurization of your milk.)
  8. Cut the curd with your knife, be sure to reach all the way to the bottom of the pot.  Cut it in a criss cross pattern on a diagonal.
  9. Place the pot back on the burner and heat to 105 F.  Slowly stir the curds while you are heating.
  10. Once you reach 105 F remove from the heat and continue to slowly stir the curds for 2-5 minutes.  
  11. Strain off the whey - you can reserve it for recipes - and place the curds in your microwave safe bowl.
  12. Place the bowl in the microwave for 1 minutes.  Remove and gently fold the curds into one piece - drain off the whey as you do this.
  13. Add in the salt to you preference, I use about 1 t, while you are folding the curds.
  14. Return the curds and bold to the microwave and cook for another 30 seconds.
  15. Drain and stretch the cheese.  (Stretching the cheese is just that - pull on the cheese like you would taffy and fold it back in on itself.  Keep doing this until the cheese is smooth and shiny.  The cheese must be 135 F in order to stretch properly so if the last round in the microwave did not make it hot enough, pop it back in for another 30 seconds.)
  16. YOU HAVE CHEESE!!  You can now form it into a ball, braid it, or make string cheese out of it.  You could even roll it out and add some herbs or pesto.  Whatever you do with it, you will want to finalize your cheese with a water bath.  Submerge the cheese in a cold bowl of water for about 5 minutes followed by a bowl of ice water for 15 minutes.  This allows the cheese to hold it's shape and protects it from getting grainy.
  17. ENJOY
OK I know it seems like a lot - but remember I am wordy!  It was simple and fun and I can't wait to make my next batch.  It seems that, depending on the milk/process, you get about 12-16 oz of cheese for every gallon of milk.  So if I only paid $5 for my gallon of milk I am saving at least $3 off the local cheese we normally buy!!  I would love to give you a calorie count, however it is difficult to do.  I tried to calculate my cheese, made with 1% milk and it came in around 60-75 calories per ounce. 
 
Isn't that GORGEOUS?!
I am a firm believer that once you have fresh cheese you will NEVER buy that horrible pre-shredded stuff in the refrigerator section of the grocery store again.  If you try this, let me know if you believe that as well!

Links: 

New England Cheese Making Supply - They have EVERYTHING you could need/want.  They even sell kits!!


Thursday, December 27, 2012

The Effects of the Holidays

I have actually been scared to step on the scale!  I set out with great intentions and then I was bombarded with bread, cookies, clams casinos - seriously what's a girl to do?

I must say that I don't think I OVER ate, and I certainly did not eat nearly the amount I normally would have.  I did, however, eat my fill.

For a day and a half all my good intentions went by the wayside and I indulged in my family's wonderful gatherings and party food!

Today I took the plunge and stepped on the scale - I gained 0.2 pounds... not nearly as bad as I thought.  I got back into my routine last night - treadmill time and food planning - and I am feeling pretty good!


One beautiful bright spot on my holiday gain was my Christmas present - a FitBit!!!  Check them out if you don't know what they are, it is very motivational for me.  I have had it for 2 days now and I just keep trying to beat my previous days score.  Today I set out to see how many flights of stairs I could get in, without actually running up and down them of course.  I LOVE that it connects into MFP and adjusts my calories accurately.  I even wore it to track my sleep last night - in 7 hours I woke up 15 times!!  I am sure I will have more to say about my wonderful new gadget soon!

My final thoughts for this post - I would say I survived the holiday!  I will take that 0.2 gain and make it disappear.  I enjoyed my holidays in addition to being conscious of my intake and that to me is success!

Baked French Toast

I hope the holidays have treated you (and your waistline) well.  This year we had my in-laws to our house on Christmas morning, in a new tradition of switching off every other.  As you should know by now, I couldn't let people come to the house and not have some sort of yummy dish to offer them!  I wanted something that would be "treat" like yet not TOO bad on the calories due to our overindulgence from the night before.  Brian and I threw around the idea of pancakes or waffles and then hit on french toast - we were thinking the cinnamon swirl french toast of course.

Being that it was Christmas, however, I didn't want to have to spend all that time flipping bread and not getting to eat with everyone or see all the presents.  So I researched.  My mother makes a french toast bake that people claim is pretty good, I have always avoided it cause it contains cream cheese and I am not the biggest cream cheese fan.  I compiled a bunch of recipes and started adding up the calories.  I could not believe just how calorie intensive most of those recipes were.  I would have spent 3/4 of my DAILY calorie intake on one serving of most of the recipes and the rest would have been well OVER my calorie intake.  I was floored.

By this time I had my heart set on a yummy french toast bake that would allow me enough calories, fat, and carbs to partake in clams casinos and a steak for dinner.  If I could find one I would have to make one - I took parts of recipes and cut back on the incredibly artery clogging ingredients and came up with something that was, in my opinion, reasonable.

Baked French Toast

  • 1/2 c Margarine of Butter, melted
  • 1/2 - 3/4 c Brown Sugar
  • 12 Slices Texas Toast
  • 4 Eggs, beaten
  • 1 1/2 c Milk (I used 1%)
  • 1 t Vanilla
  • 1 T Powdered Sugar
  • Cinnamon and Sugar, mixed*
  • Butter Spray*
  1. Mix the melted butter and brown sugar well.  Spread the mixture onto the bottom of an 11 x 17 baking dish.  
  2. Combine the eggs, milk, powdered sugar, and vanilla - mix well.
  3. Lay 6 slices of texas toast on top of the butter sugar mix. 
  4. Pour half the egg mixture evenly over the toast.
  5. *Lightly sprinkle the soaked toast with cinnamon and sugar
  6. Place the remaining 6 slices of texas toast on top and even pour the remaining egg mixture over those slices.
  7. *Lightly sprinkle the tope with cinnamon and sugar and a light spray of butter.
  8. Cover and place in the refrigerator over night.
  9. The next morning, preheat the oven to 350 F.  Remove the bake from the fridge and set on the counter for about 10 minutes.
  10. Bake, uncovered, for 40-50 minutes.
  11. Sprinkle lightly with powdered sugar.
  12. ENJOY
*These ingredients and steps are not needed - you can omit them, yet they do not add many calories and I think they enhance the final product.

I divided the recipe into 8 servings - which was a fairly good amount.  You could always divide it into 6, however I feel those would have been too much.  Most french toast bakes say to serve with warm syrup, I have to admit that I ate mine without any syrup though I did offer syrup and cool whip to those that would like it.   Without syrup or cool whip, divided into 8 servings the bake comes to about 360 calories per serving.  Not bad at all compared to 1000 - 1700 calories per serving that all the other ones were coming boasting.  (If you want larger servings and decide to go with 6, the calorie count rises to about 485 calories per serving - still much less than the others!!)

The bottom of this bake produces a nice sugary/crunchy base and the toast is a perfect blend of moisture and crispness.  I love french toast - much preferred over pancakes or waffles - and this is a recipe I will definitely be making again.  It is super easy to whip up and very yummy to eat!  It was delicious on Christmas morning, served with ham for that brunch feel!!

Sorry about the lack of pictures - I completely spaced on taking any while I was preparing or eating.  I promise to take some the next time.

Sunday, December 23, 2012

Day 126

*I am sorry for the lackluster attitude in this post, I am having one of those "this is taking forever" kind of days!*


I decided I better get this one in before the heavy food days come!

I am hoping to keep my over-indulgence in check in the coming days, yet I am not going to be an extremist.  I have already decided on making baked french toast for brunch on Christmas (stay tuned for that recipe) which will consume almost half of my daily calories - but it is Christmas and I want it.

I posted ten days ago about hitting my 45 pound goal - it has taken me the full 10 days to lose another 2 pounds.  Definitely slowing down!!  I am still moving in the right direction though, so only tiny complaints from me :-D  The numbers are:  in 126 days I have lost 47.6 pounds.  That is 2.64 pounds per week, 11.9 pounds per month and 0.378 pounds per day.  That sure is a far cry from my 0.6 pounds per day lost in the beginning of my journey!

I am not going to get discouraged, I will keep trucking.  Just think, only 53 pounds to go before I hit 100 lost :-) - ok so I am thinking long term today.

In keeping with that 100 lost attitude, Brian and I have crossed that threshold as a couple!  As of right now we are at 105 pounds down as a couple! So quick someone do the math for Brian.... ok ok I will just tell you: 58 pounds lost for him!!!  WAY TO GO BRIAN!

******Update:  Brian just officially weight in and has lost 60 pounds total!!!   So I guess we are now at 107 as a couple :-)*******


Monday, December 17, 2012

Southwestern Stuffed Peppers

I had been planning on making stuffed peppers for ages and then I find myself using all the peppers for fajitas, chourico, or other yumminess.  Yesterday I purposely bought extra peppers to ENSURE that stuffed peppers would be made.

I decided this morning to give our stuffed peppers a southwestern twist and to use quinoa instead of rice.  (I had an over abundance of quinoa and only a little bit of brown rice left - have to use what's in the house. :-D)  I was a little worried about the reception of these peppers for a variety of reasons: 1.  I have never made stuffed peppers for Brian before.  2.  I have never used quinoa in stuffed peppers before. Finally, 3. I don't think Brian has ever eaten quinoa.  -- Everyone says Stink's crazy pickiness comes from me, but getting Brian to eat new things can be just as difficult!--

Apparently I was worried for nothing.  Brian liked the peppers and didn't balk at the quinoa.  Now if I could only get Stinks to eat something other than crackers, cheese and pepperoni!

Southwestern Stuffed Peppers
Don't they look wonderful just as is?

  • 1/2 lb Ground Beef (or chicken)*
  • 1/2 c Dry Quinoa
  • 1/2 c Mushrooms, chopped
  • 6 Bell Peppers
  • 1 - 1 1/2 c Salsa
  • 1 Onion, chopped
  • 1 c Corn
  • 1 c Black Beans
  • 1 c Cheddar Cheese, grated
  • Taco Seasoning, per preference

  1. Cook the quinoa as per the package instructions.  Set aside.  (I always rinse my quinoa prior to cooking and use the 1 : 2, quinoa to water ratio.  I also always seem to have some cooked hanging around.)  
  2. Preheat oven to 350 F
  3. While the quinoa is cooking, prep the peppers by cutting out the stem and removing the seeds.  Place the peppers in a shallow baking dish and pour water (about 3/4 - 1 c) into the base of the dish around the peppers.  Place peppers in the oven to steam for about 10 - 30 minutes depending on your preference.  (We like our peppers to still have a good crunch so I only steam ours for about 15 minutes.) Once the peppers are steamed to your preference remove from the oven and set aside to slightly cool.
  4. While the peppers are steaming spray a fry pan with non-stick spray and add in the onions, mushrooms and beef.  Cook until the beef is browned through and the onions are translucent.  
  5. Reduce heat and add in the taco seasoning, corn, beans, salsa and cooked quinoa.  Stir together.
  6. Spoon the meat/quinoa mixture into each pepper and return the peppers to the oven for about 15-20 minutes.  (I always add about a teaspoon of water to each stuffed pepper prior to putting them back in the oven, but this isn't necessary.)
  7. Just before the peppers are done, sprinkle the cheddar cheese over the tops and return to the oven until the cheese is melted.
  8. ENJOY
Seeing there were only two of us eating the peppers, and I use peppers in a LOT of other foods, I only stuffed 4 peppers.  The recipe is for 6, however, so I either need to tone back my recipes or learn to like left over pepper stuffing :-D.  The calorie count is actually very impressive to say that it is chock full of quinoa! The peppers come in at 270 calories per pepper - whole pepper - all in all a nice respectable number.  (If you decide to use rice instead of quinoa expect to be looking at about 340 calories per  pepper.  If you have never tried quinoa I say go and get some.  I was turned onto it when I was pregnant and needed to try and keep something down - it is full of all sorts of good things and is very simple to cook.  I am not really a fan of "plain" quinoa, but in recipes such as this I love the texture and taste.  It also make one hell of a fried "rice".)


So there you have it.  Let me know if you try them - I do like feedback!

Cinnamon Swirl Bread

Making bread makes me happy!  I like all sorts of bread - when I was little I used to eat Cinnamon Swirl Raisin bread all the time.  Recently I have been on a peasant bread kick but today I was in the mood for a sweet bread.  Thus the Cinnamon Swirl Bread was rising as of 9am this morning!

The recipe is simple - in bread terms - and yields a very yummy tasting loaf!  

Cinnamon Swirl Bread
  • 2 1/4 t Yeast
  • 3 1/2 c Flour
  • 1/2 c Boiling Water
  • 3/4 c Cool Water
  • 2 T Oil
  • 2 T Honey
  • 3/4 t Salt
  • 1 Egg White
  • 1/2 c Sugar
  • 1 T Cinnamon
  • Butter for the Pan
  • Extra Oil
  1. Combine the flour and yeast in a bowl.  
  2. Combine the boiling water and cool water.  Add the water, honey, oil and salt to the flour and yeast.  Mix with a dough hook until a dough ball is formed - you can add up to 1/2 c more flour if needed.
  3. Turn the dough out on a lightly floured surface and knead gently until the dough is elastic.  Return the dough ball to the lightly oiled bowl.  Roll the dough around in the bowl to coat the dough.  
  4. Cover the bowl with plastic wrap and place in a warm dry spot to rise.*
  5. Allow the dough to rise until it has doubled in size (about an hour).
  6. Prepare your loaf pan by buttering and set aside.
  7. Preheat the oven to 350 F
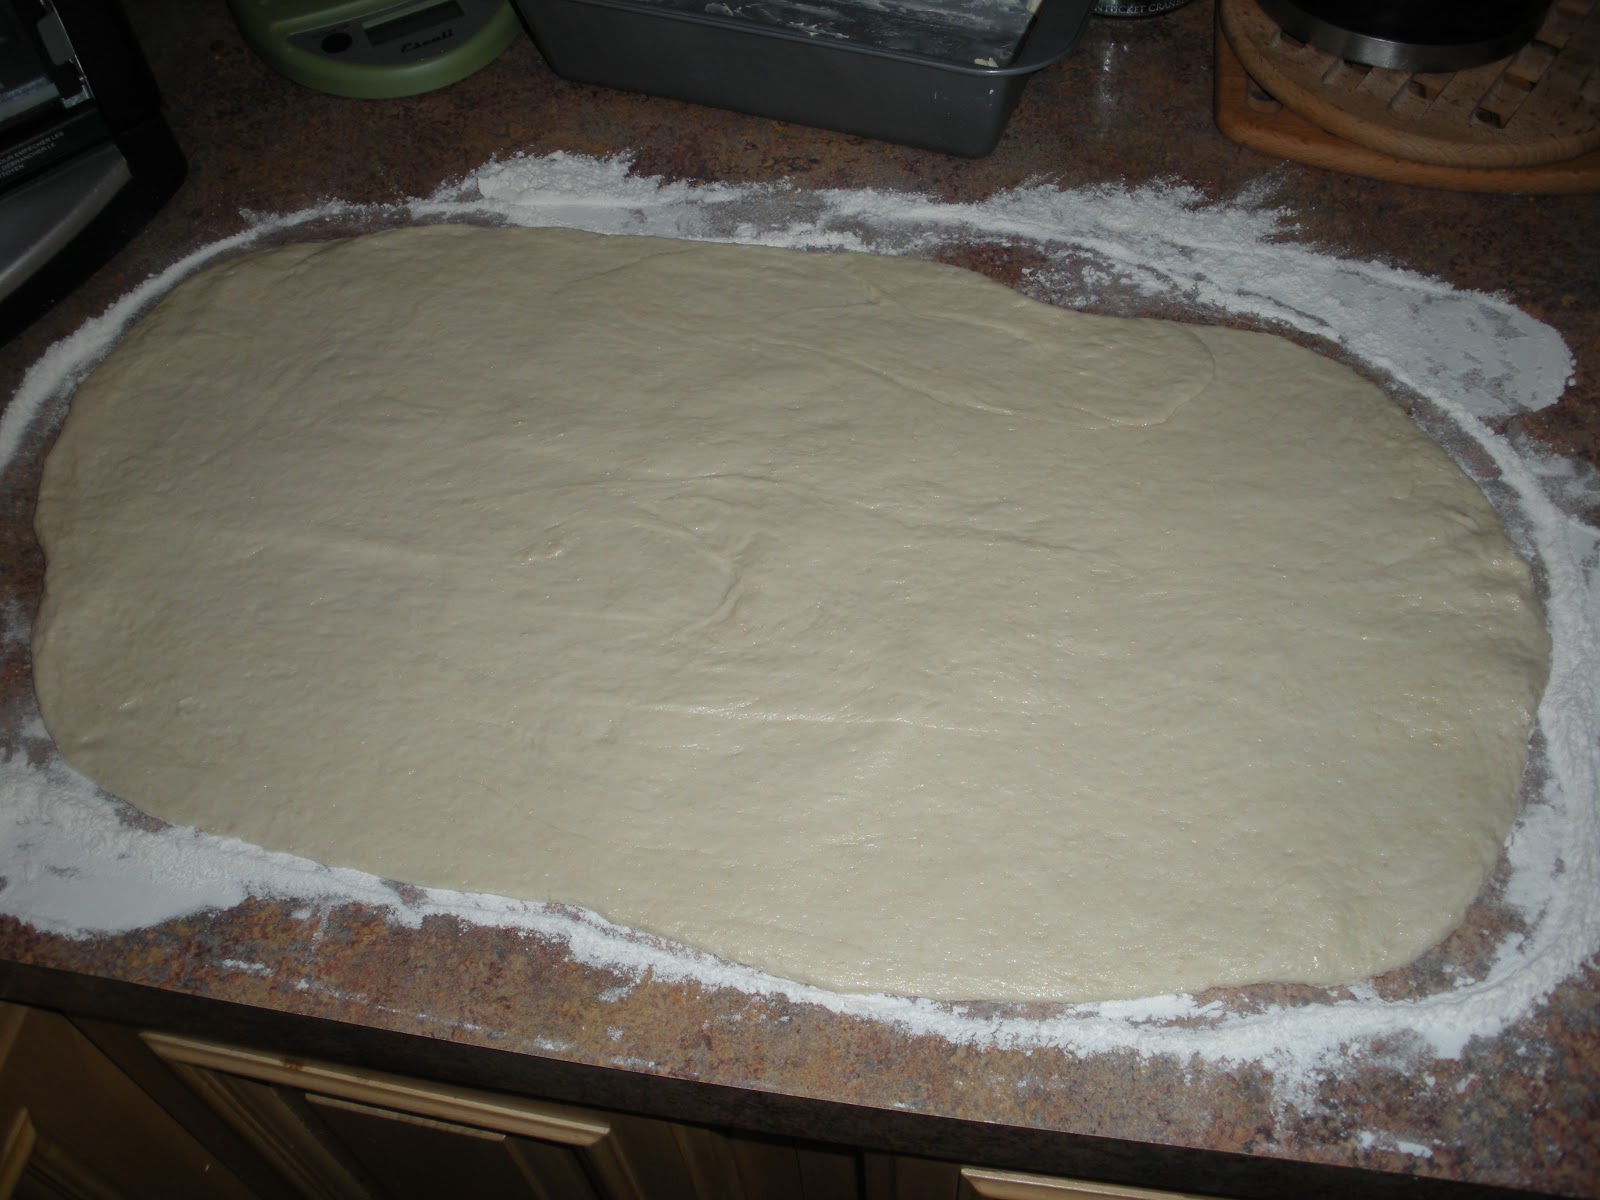
  8. Once the dough has risen, turn it out on a slightly floured surface and roll out into a rectangle roughly the width of the loaf pan.
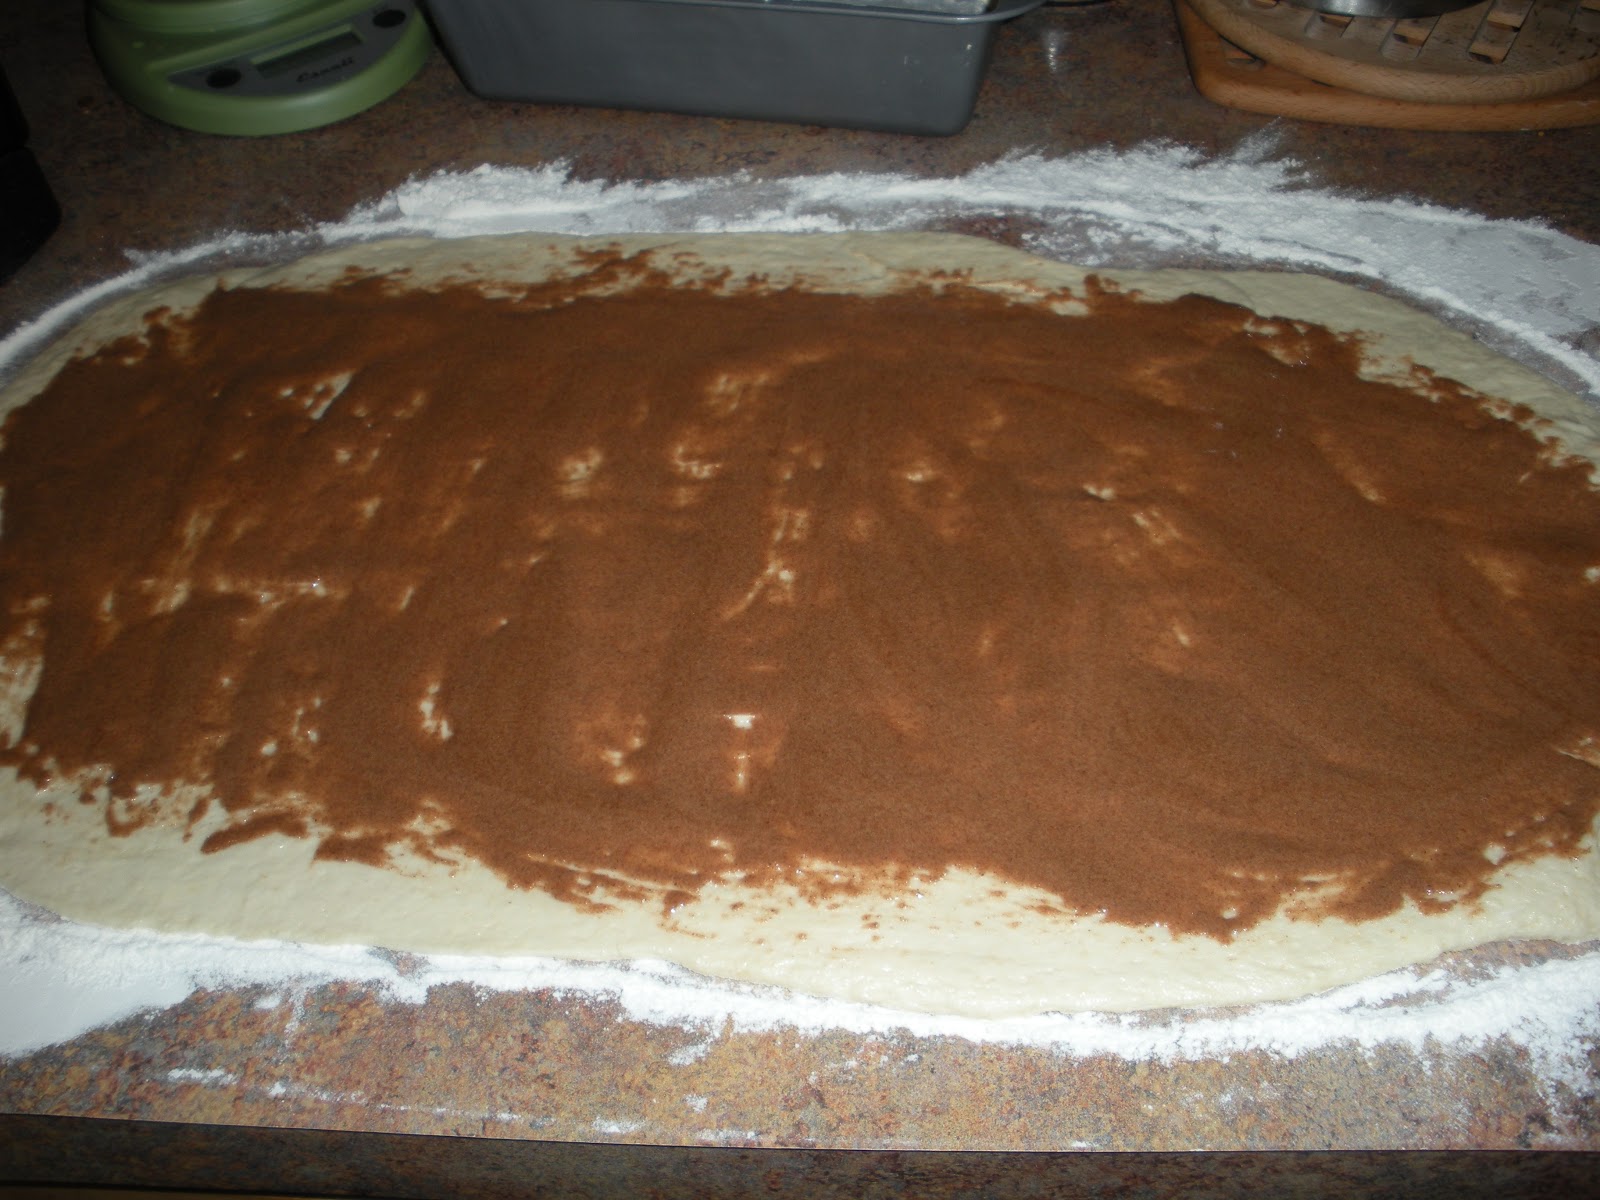
  9. Mix together the egg white, sugar and cinnamon.  Spread the mixture on the dough rectangle evenly.
  10. Roll the dough and pinch the seams and place the roll into the buttered pan, seam side down.
  11. Cover the loaf pan with a clean towel and allow to rise again for 30 minutes.
  12. Bake the loaf for 25-35 minutes until golden brown.  
  13. When you remove the bread from the oven, set the pan on it's side for a few minutes until you can transfer the loaf to a cooling rack.
  14. ENJOY!!!
This recipe makes a fairly large loaf that I was perfectly able to cut into 20 slices making each slice about 110-115 calories.  The bread is VERY YUMMY!!  Try it and let me know your thoughts!  I am thinking I want to turn mine into french toast!!!


Update:  This bread makes GREAT french toast.  I am a french toast girl, I will always pick it over waffles or pancakes.  Nothing beats homemade french toast with a touch of butter and some maple syrup!  This morning I made cinnamon swirl bread french toast - no butter or syrup needed.  We ate it right out of the pan as is and boy was it scrumptious!  If you make the bread and are a fan of french toast be sure to whip up a batch, you won't be disappointed!

Chocolate Peanut Butter Cookies

Every year my mother hosts a cookie swap.  Each attendee brings 8 dozen homemade cookies and after much food, laughter and hilarity the cookies are swapped!  I have been attending these for years - not that I need the dozens upon dozens of cookies that result from the swap, but cause they are great.

Each year I go through the same process: WHAT DO I MAKE?  I normally bake two different cookies so I need 16 dozen cookies, but what ones?  This year it was determined fairly early on that I would make my oreos but that means I still need another cookie recipe for the swap.  I contemplated the banana oatmeal cookies I made last week, but they aren't as pretty as I would prefer.  Plus this is a cookie swap - no need for lower calorie cookies here!

Well I believe I have found it!  It combines the things I like most - CHOCOLATE and PEANUT BUTTER!

Chocolate Peanut Butter Cookies

  • 1 1/2 c Flour
  • 1/2 c Cocoa
  • 3/4 t Baking Soda
  • 1/2 Butter or Margarine, softened
  • 1 1/2 c Sugar
  • 1/2 c Peanut Butter
  • 2 Eggs
  • 1 t Vanilla
  • 3/4 c Chocolate/Peanut Butter Morsels, mixed
  • Dash of Salt
  1. Preheat the oven to 350 F.  Grease or parchment your cookie sheets and set aside.
  2. Cream together the butter, peanut butter, vanilla and sugar.  Add in the eggs one at a time and mix well.
  3. Add the remaining ingredients, save the morsels, and mix well.
  4. Finally stir in the morsels.
  5. Drop by rounded tablespoons onto your cookie sheets and back until they start to slightly crack.  **The cookies will look gooey still.  They set up once they start to cool.  Be sure to allow them to cool slightly on the cookie sheet before moving to a cooling rack.
  6. ENJOY!
Not only are they super yummy but they are easy - a necessity if I am going to make 8 dozen oreos for the swap!  The recipe makes about 48 cookies - if you don't eat too much of the batter :-D.  They aren't exactly the lowest calorie cookie, but with peanut butter in the name a low calorie dessert shouldn't be expected!  The calorie count comes in at about 85 calories per cookie.

Try them out and let me know your thoughts!