Thursday, September 6, 2012

CrockPot Chicken Fajitas


We are big fans of Tex Mex / Mexican cuisine in this house.  I honestly think, and have been told by the man himself, that Brian could eat from said genre every day and be blissfully happy.  (Personally I would take a pizza or a pasta dish every day, but to each their own.)  Of course there are the super chain restaurants, such as Chili's and On the Border, were you can get your mexican craving whetted with super large meals that may or may not taste authentically yummy.  Brian and I stumbled onto a very yummy place named Jalisco in Putnam, CT.  It is now our go-to mexican restaurant: they are quick, they are clean, they like Linc, and the food is wonderful! (My absolutely favorite mexican restaurant has to be this little hole in the wall that Brian and I found on Maui.  IT WAS DELICIOUS!!) All this being said, mexican cuisine is not exactly the lowest calorie food out there.  Between the tortillas, cheese and wonderful wonderful avocados (I have been on a HUGE avocado kick for weeks now - I will eat them in/with ANYTHING), you are looking at one very high caloric meal.

Which brings us to this recipe.  I stumbled upon it while I was wasting timeignoring work, quickly perusing Pinterest the other day. I am not always a fan of crockpot recipes, but who out there can tell me that the allure of throwing everything for a meal into one pot isn't a strong one?  I also noticed that to cook the chicken, the recipe uses chicken broth - no more skillets full of butter here!  Plus the recipe uses ingredients that the house is always stocked with, which is a BIG thing for me... I hate having to go to the store for that one ingredient I only use for one recipe.  It doesn't cut the calories of all the extras (i.e.: tortillas, cheese, guac), but it is a quick and easy meal and it tastes good.  (Plus, I have taken to eating fajitas without any wraps and just a small amount of cheese added - so I guess now they aren't fajitas just a skillet of meat and veggies.)

The recipe is simple, what you see above is what you use (with the exception of lime juice - I apparently forgot to put it in the picture).  I think in the future I will play with the spices a little, I am not that huge a fan of cumin and you could definitely taste it in this one.  I added more veggies than the recipe called for, but that is cause I LOVE peppers and onions.  The original recipe came from here.  This is my version of it:

CrockPot Chicken Fajitas
  • 1 lbs Chicken Breast - skinned, trimmed and cut into 1 inch thick strips
  • 2 Medium Onions
  • 3 Peppers
  • 2 T Chili Powder
  • 1 t Cumin
  • 1/2 cup Chicken Broth
  • 2 T Lime Juice
  • Salt and Pepper 
  1. Place the trimmed and stripped chicken in the bottom of your crock pot
  2. Peel and slice an onion and scatter on top of chicken.
  3. Slice peppers and scatter on top of onion and chicken
  4. Slice remaining onion and scatter on top again
  5. Pour lime juice over veggies and chicken
  6. In a small bowl mix together broth, chili powder and cumin.  Pour the mixture of the meat and veggies.
  7. Set your crock pot to 3-4 hours on high or 6-7 hours on low (I cooked on low).
  8. Enjoy!


See what I mean- SIMPLE.  The chicken was very moist and the veggies were not.  I think I would cut back the amount of broth used next time (maybe in half).  For a first try, however, these were pretty good.  I paired mine with two Coco Lite crisps (some people say they taste like cardboard but I LOVE these fun 16 calorie crisps - especially with toppings) and a 1/4 cup of mexican cheese. The recipe made three servings at 284 calories a serving.  It was MORE than enough to fill me up for dinner - I probably could have turned it into 4 servings!  


Progress

Just under 11lbs in just under 4 weeks! I feel good about this. Keeping the momentum going. Sorry if I am driving you all batty with calorie counts!!

Update:  so apparently I can't read a calendar.  It has been brought my attention that I started on this whole calorie counting/portion control/exercise journey on August 19th - not just under 4 weeks ago, 18 days ago.  2 weeks and 4 days.  I am sure I won't keep up this pace, but wow I am feeling good right now!!

Wednesday, September 5, 2012

Lasagna Roll Ups

So I know I have been overloading with food posts, but come on - some of them are darn yummy!!  I know that tomorrow Linc and I will be having a later night, which means prepping and cooking dinner when I get home would result in eating at 9-10pm.  That just won't work!  Keeping that in mind I decided to prepare Lasagna Roll Ups today for baking tomorrow.  (I am very sorry for anyone whose sensibilities are bothered by this, but a girl has to do what a girl has to do.)

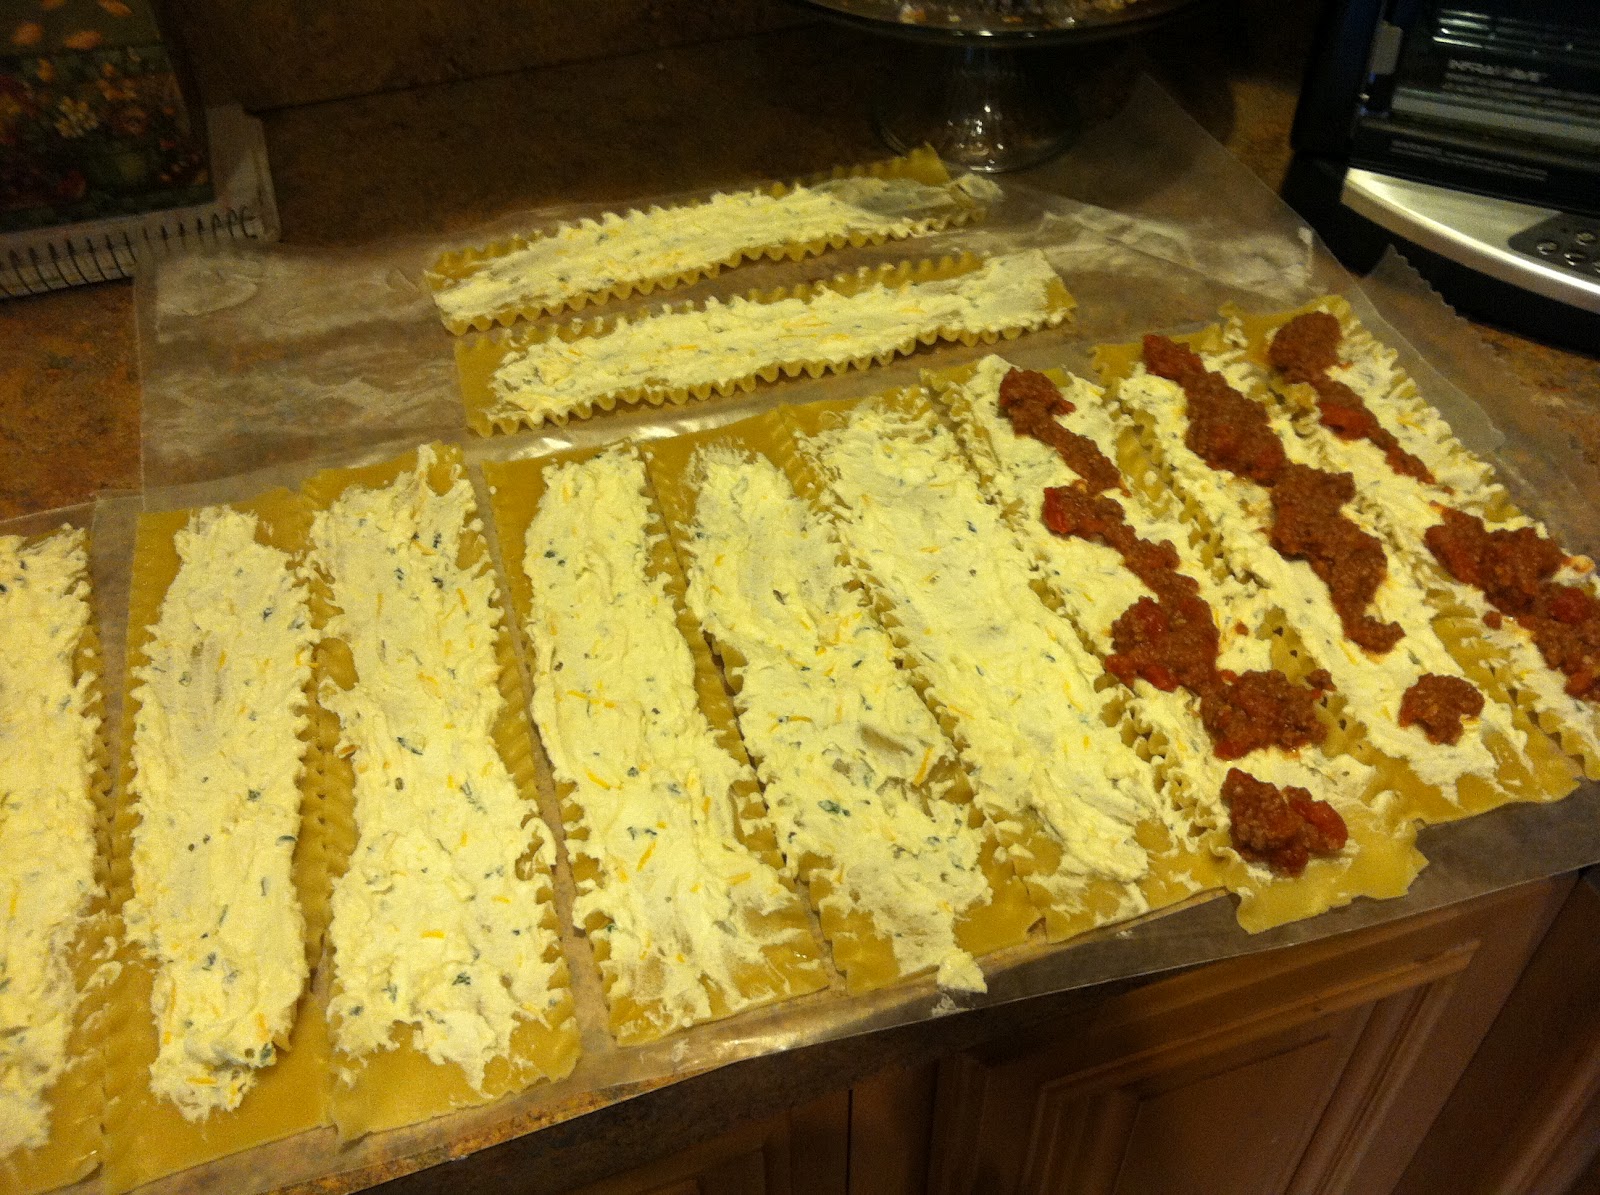
Brian has always been a fan of lasagna, yet now that I am doing the calorie counting I was worried that one piece would wipe me out for the day - and do I really want all my calories going to a food I consider just OK?  Imagine my surprise when I put the recipe into my builder and came out with a wonderfully low number of 195 calories per roll up!!  This recipe was definitely doable, and if it's a hit, it will most likely become a staple.  Pasta is one of my favorite foods, second actually only to bread (I know right?!).  That being said I HATE the lasagna making process.  Boil the noodles, mix the cheeses, make the meat sauce, layer layer layer.  I normally only do it for special occasions and then only under duress.  (Poor Brian, I guess I am not a very nice wife.)  I was skeptical that the roll ups would be any better of a process - wouldn't it be more time consuming and a bigger pain?  I am happy to say that I actually enjoyed making these roll ups.  Not only did I NOT burn my fingers on lasagna noodles (a common happening when making layer lasagna), but rolling them was FUN.  (Ok we all know I am a little crazy so just go with it :-D)  I also love the fact that one roll up is a serving - no more trying to cut perfect pieces and losing half the filling when taking said piece out of the pan.  All in all the prep for the lasagna roll ups was fine - I still had to cook the noodles and prepare the meat and cheese, but I got to spread out the noodles and "paint" on the cheese and meat.  FUN!

Here is the recipe and some pictures.  I will update once we have eaten them to let you know the consensus on Roll Ups vs Layered.

Lasagna Roll Ups

  • 1/2 lbs Lean Ground Beef (I used 97/3)
  • 1 T Minced Onion
  • 1 T Garlic Powder  (You can use fresh - I just had none on hand)
  • 2 cans Diced Tomatoes (I used Hunt's regular)
  • 1 Large Egg
  • 16 oz Ricotta Cheese (I use part skim)
  • 1/4 cup Parmesan Cheese *
  • 3/4 cup Mozzarella Cheese *
  • 3/4 cup Pasta Sauce 
  • Parsley (I used fresh, but spice parsley is fine)
  • 1lb box of Lasagna Noodles
  1. Boil noodles according to package.
  2. Brown beef with onion and garlic.
  3. Drain beef.  Transfer portions of drained beef to a food processor (I use my magic bullet) and pulse to finely grind beef.  (You do NOT need to do this part, however it does make the meat sauce easier to spread.  You could also put it through a meat grinder, however it is only 1/2 a pound and my magic bullet is a LOT easier to clean than my grinder.)
  4. Add the tomatoes to the beef.  (I dumped a can into my magic bullet to purée it - just cause I am not a fan of huge tomato chunks.)
  5. When noodles are done, drain and lay out on wax paper.
  6. Combine ricotta cheese, parmesan cheese, 1/4 cup of mozzarella cheese, egg and parsley in a bowl.  Mix until blended well.
  7. Place a spoonful of the cheese mixture on each noodle.  Spread the mixture to cover the noodle.
  8. Spoon some meat sauce onto each noodle and spread. 
  9. Place 1/4 cup of pasta sauce in the bottom of your baking dish.
  10. Roll up the noodles as you would a jelly roll and place them on the sauce seam side down
  11. Top the rolls with remaining pasta sauce and mozzarella cheese.
  12. Bake at 350 until cheese is melted and sauce is bubbly.
As you can tell from the pictures, a pound of lasagna noodles makes a LOT of roll ups. (Makes me wonder seeing normally a pound of noodles goes into ONE lasagna - obviously there is a lot more noodle than needed there.) I made 18.  There is NO WAY we were going to eat 18 roll ups so I divided the roll ups between two dishes and froze one for a later date. (Instant dinner on a night when I am just not feeling like cooking!) Because I laid the noodles on wax paper clean up (from rolling) was a cinch, just roll the paper up and throw away.  We will see if they past the taste test - it is looking good from my end though!!

UPDATE:  Now that Brian and I have actually eaten the roll ups I have come back to update everyone as promised.  Brian said they were "good" (which is his standard answer so he really wasn't much help there).  We both agreed that the roll ups were a LOT easier to serve and to know the serving size!  The taste was very good - however, I think the next time I make them I will have to add another 1/4 cup of pasta sauce.  They were a little cheesy without tomato sauce to counter it for my tastes - and Brian is always a fan of more sauce so that should be "good" as well.  All in all I would say they are a hit!  (Of course not such a hit that Mr. Picky Stinky would even consider THINKING about trying them.  Seriously where does he get that pickiness from? - says the girl that ate beef in the form of filet mignon ONLY until she was 20.)  I am thinking this will definitely be my go-to lasagna set up from now on!!  Even with the extra sauce we are still looking at under 200 calories a piece - definitely a wonderful meal!

Friday, August 31, 2012

Squash Noodles

So in the continuance of my "try something new" attitude, squash noodles was on the list for today.  As I am sure many of you know, I LOVE zucchini so it seemed like that was the best option for my experiment.  I found a lot of different "recipes" for squash noodles - some required you to toss your julienne squash with salt to draw out the water.  As I am not a fan of salted zucchini I decided to omit this step.  After julienning and squeezing the excess moisture from the zucchini, I sautéed it in some olive oil and garlic to warm it up.  Finally I tossed something pesto and some with tomato sauce.  The results were phenomenal!!  The pesto one was a little much for me, though I am thinking if I added a piece of parmesan crusted chicken it wouldn't have been that bad.  Tossed with the tomato sauce, the squash noodles were great!  I wonder if I could get Brian to eat it - probably if I dress it up with the right meat.  The best part about this was that even with the oil, an entire pan (about 1 1/2 cups) of squash noodles only came to about 100 calories!!
I need to get a new julienne cutter
Sautéing the noodles I wanted to eat them right out of the pan!
This picture has one of my new favorite snacks as well - Light and Crisp Wasa Crackers!!!

Tuesday, August 28, 2012

Bugs, bugs and more bugs

Mosquitos have become the bane of my existence.  Not that I was ever truly enamored with them, but since they have decided that Linc's three year old flesh makes the best banquet hall, I find myself thinking of numerous ways to ward them off.  We have tried everything!  From essential oils and long sleeve/pants to dryer sheets and commercial bug sprays.

Of course Linc's age was an initial limitation to the commercial products.  We heard "deet free" from a very young age and, seeing the mosquitos did not appear to understand that our baby was OFF LIMITS, we searched out alternatives for bug spray.  Our search took us some weird places.  We were told by a few people that dryer sheets in belt loops would keep them away - didn't work.  We were also informed that eucalyptus and clove essential oils were excellent at warding off mosquitos - not in our case.   So now that we have dryer sheets sticking out of our pockets, as well as tied into our hair, and we smell like we bathed in essential oils we moved on to the commercial deet free products.  I was so excited - All Terrain KIDS Herbal Armor - it seems to work!!  It smells wonderful, Linc doesn't mind getting sprayed with it, life is grand - we can go outside again!!  That lasted for about 4 months, then it was like the mosquitos became attracted to the spray.
Was perfect, until it wasn't

By this time Linc was no longer just getting giant welts from mosquito bites, he was starting to swell.  The swelling initially would take a day to appear and would disappear in about the same time.  Now it takes about 5 minutes for Linc to swell and it takes at least 48 hours for the swelling to go down (that is with the help of prednisone normally).  Around the time the swelling started appearing the "no deet" mantra from the pediatrician's office started disappearing.  They started suggesting "low deet" options, Off: Family Care, as long as we ENSURED that Linc would be washed down every night.  So we switched - it was better.

Our armor against the hungry bugs now goes something like this - If we are in our own yard prior to 3pm then he uses the low deet, after 3 pm we switch to a 25% concentration of deet.  When we are in the woods, we don't even start off with the low we just slather on the 25%.  What else can we do? I know there is no (reasonable) way to make ABSOLUTELY certain that Linc will not be bit, but I will settle for something that is safe for him to use daily and gives reasonable protection. We do avoid dusk and nights outside, but the bugs seem to find him at the weirdest times of the day - 11am, 2:30pm, 7am on the way into school - and in places that are not necessarily "breeding grounds".  I know this is a long and fairly boring entry, but as he got bit, yet again, this morning on the way into school I figured I would appeal to the masses for information.  What do you do?  What do you use?  Do you have any suggestions?
This one got his ear -
it took three days for the swelling to go down
Bite to the temple -
don't like it when they are on his head


Sunday, August 26, 2012

Corn, potato and BACON chowder

Prior to this recipe I had never ever heard of cooking "baked potatoes" in the microwave- I know, I live a sheltered life!!  I have always shied away from corn chowders for the very reason that if I am going to waste the time making a baked potato, I want a STEAK with it!  (The picture shows you how easily the potatoes peel after you cook them in the microwave - just be sure to let them cool a little or you will DEFINITELY burn your fingers.)

Seriously who in their right mind wouldn't want to eat that?!
In my quest to eat new and *hopefully* nutritional food I stumbled upon a recipe for Corn, Potato and Bacon Chowder - from WeightWatchers of all places.  (I should probably put in a disclaimer here that I am slightly addicted to FoodGawker and Pinterest so it is very possible that the recipe came off of one of them.  However I am equally as addicted to cookbooks so one never knows.)  After reading the recipe I decided to give it a whirl - I mean who doesn't want to try a recipe when they have all the ingredients readily available (which was yet another thing I LOVE about this recipe).
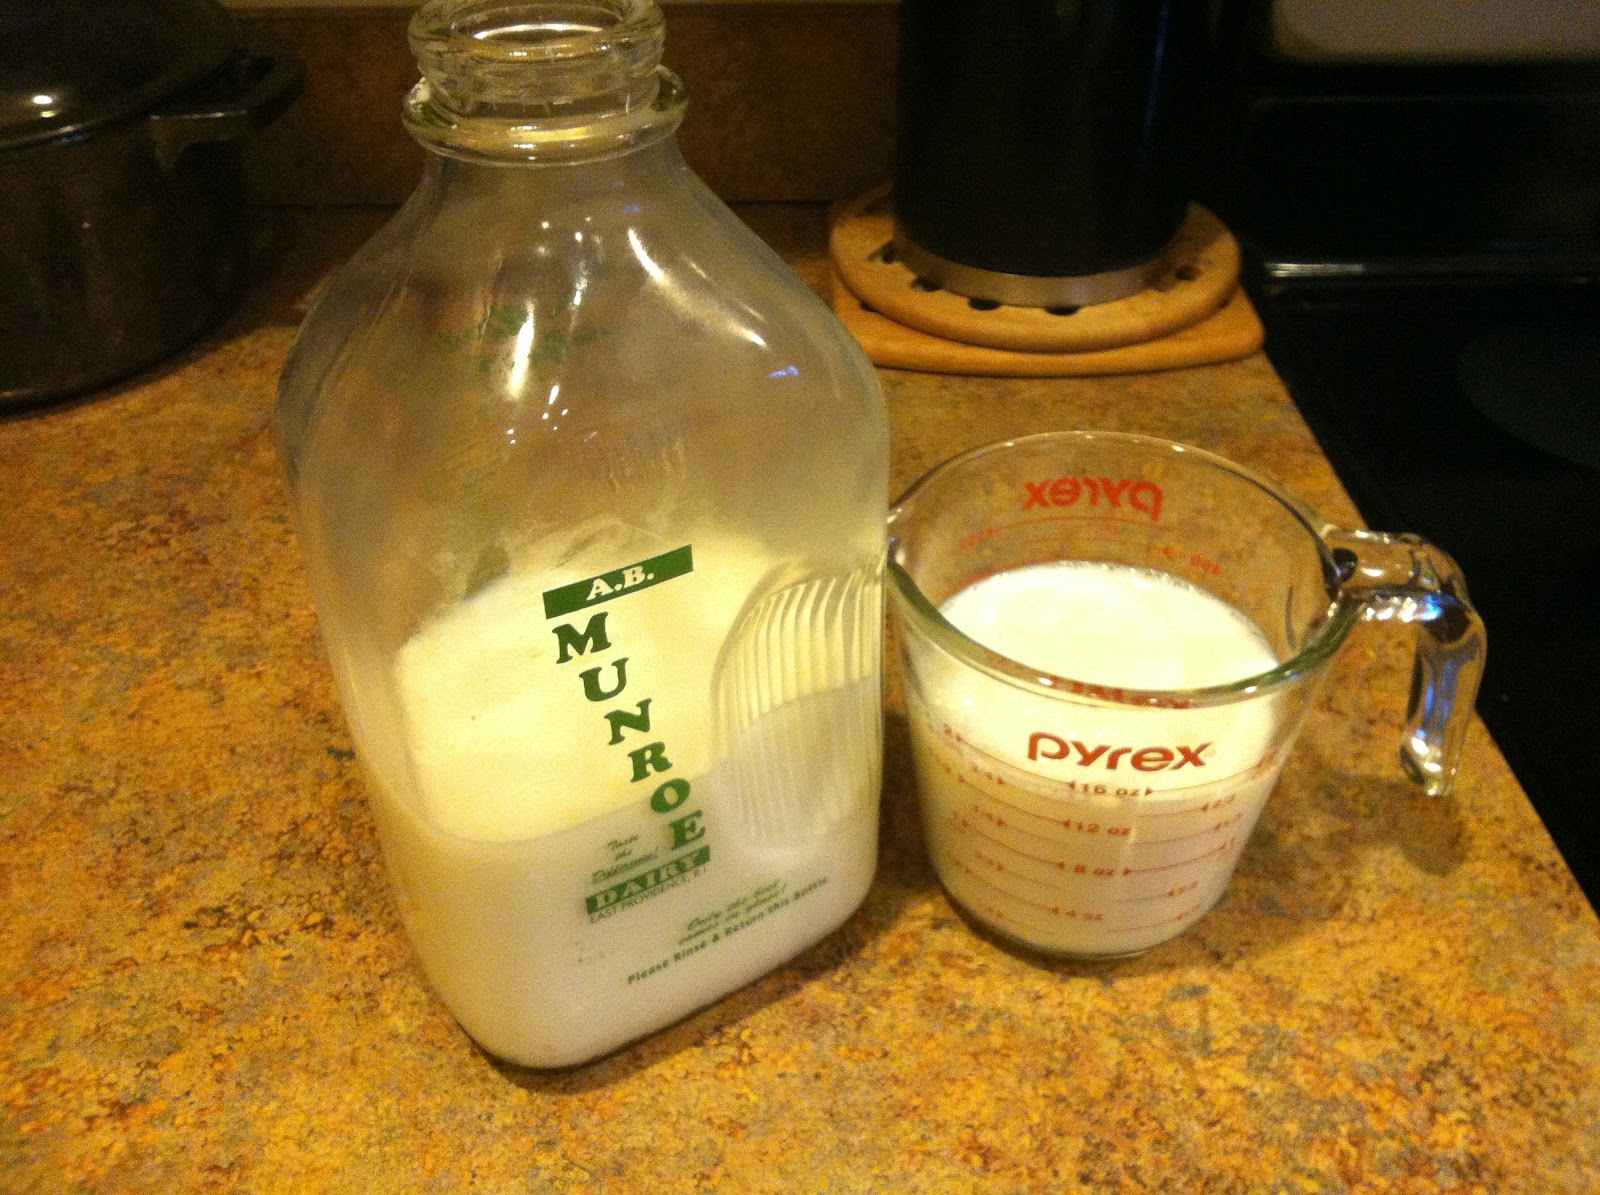
Everything is better with local milk
I made the chowder on a night when there was already a WONDERFUL pizza in the making so the chowder was just a thought for lunch the next day.  After I was done, and before the pizza came out of the oven, I gave Brian a little bowl - it was a HIT.  It isn't exactly a low calorie food, but it is super filling, and I can handle spending 180 of my calories on a serving of this chowder!!

CORN, POTATO and BACON CHOWDER

  • 1 medium potato 
  • 2 cups corn
  • 1/2 cup chopped onion
  • 1/2 cup chopped celery
  • 1 cup broccoli (or veggie of choice)
  • 2 cups milk
  • 4 oz canadian bacon (chopped)
  • salt and pepper to taste

Aren't our little soup bowls adorable?!

  1. Cook potato in the microwave (be sure to wash and puncture then just stick it in the microwave for 4 minutes each side)  Once done, set aside to cool.
  2. Sauté your vegetables in your saucepan or stock pot until tender and slightly browned (I just spray the pot with pam, but I think you are supposed to use some oil)
  3. Once your potato is cool, peel and discard the peel (or if you are like me eat it cause that is the best part of the potato).  Then mash the potato.
  4. Once vetegables are sautéd, add milk, mashed potato and uncooked canadian bacon.  
  5. Blend all ingrediants well - make sure you mix the mashed potato in well so there are no clumps
  6. Turn down burner to a simmer, cover your pot and let simmer for 10 or so minutes.  DO NOT ALLOW TO BOIL.  
The recipe as is makes 4 servings at about 180 calories each (or for those of you doing WW: 6 points per serving).  The very first time I made the recipe I didn't have any defrosted canadian bacon, and I was simply to rushed to wait for it to defrost so I ended up using the caloric equivalent of crumbled regular bacon.  The chowder is wonderful both ways.  I have found that now I double the recipe seeing Brian will eat at least two servings if we have it for dinner and he likes taking it for lunch so we want leftovers!   Give it a whirl and let me know what you think :-D

Shanghai Cucumbers


  • 2 tablespoons of Soy Sauce 
  • 1 tablespoon of Rive Vinegar (I use a little less)
  • 1 teaspoon of Sesame Oil
  • Sesame Seeds (I use toasted)


  • Cucumbers

This recipe has been a LIFE SAVER.  I am not sure if I am the only one, but there are those times when you just CRAVE something salty.  Most people would go for a bag of chips - I am more of a popcorn or cheese curl girl myself.  Well, when the craving hits and I am trying to be good (I mean Adventure Suites is calling me), I have found myself reaching for this recipe instead.  

At the beginning of every week I will make a batch of this up in one of those little tupperware snack containers.  The ENTIRE SAUCE RECIPE is ~77 calories - it lasts me at least a week (I dump any left over at the end of the week and just make a knew one).  I am a cucumber girl in a cucumber house.  My house can easily go through 8-10 hot house english cucumbers a week.  (We eat regular as well, but Linc makes me scoop the seeds to I have taken to buying english.)  I take that 77 calories and divide it into 8 (because I normally have AT LEAST one serving left at the end of the week) and just add the 10 calories per day to my calculator.  I know that this recipe isn't for everyone - you have to like soy sauce and sesame oil.  I cut up my cucumbers and dip them into a small saucer of sauce - seeing I don't like them to SIT in the sauce.  Give it a try - if you like the ingredients - and let me know how it goes!!


I know it doesn't look like a lot, but i just dip the cucumber in and then eat it, I am not soaking or scooping so it really does last me the entire week!